License
ThemeForest regular license you are licensed to use this theme to create one single End Product (the final website customized with your content) for yourself or for one client.
What is allowed with the single regular license:
-
You can create 1 website (on a single domain) for yourself or for your client. You can then transfer that website to your client for any fee. In that case, the license is also transferred to your client.
-
You can install the theme on your test server for testing/development purposes (this installation should not be available to the public).
-
You can modify or manipulate the theme, you can combine it with other works to
create the End Product.
-
The theme updates for the single End Product (website) are free.
Bundled Plug-ins
All the premium plugins that comes with the theme are full functional without any registration license key. If however, you wish to use the additional features or receive automatic updates and support from the plug-in party, you shall purchase the plug-in separately.
Theme Requirements
To use this theme you must be running at least WordPress 3.9, PHP5, mysql 5 or higher. If you use a hosting service with limited resources (e.g. GoDaddy!), you may experience issues with the "one-click" demo data installation.
We recommend that you contact your web hosting service provider to make sure that your server PHP configuration limits are as follows:
- max_execution_time 60
- memory_limit 128M
- post_max_size 32M
- upload_max_filesize 32M
If you are running unmanaged dedicated server or VPS, you should check your php.ini file. Alternatively, you can edit .htaccess file in the root of your website and add the following values:
- php_value max_execution_time 60
- php_value memory_limit 128M
- php_value post_max_size 32M
- php_value upload_max_filesize 32M
Install Theme via WordPress
- Log in to the WordPress Administration Panels.
- Select the Appearance > Themes > Add New.
- Use the Upload Theme button to upload a zipped copy of Dcode Theme.
- Go to Appearance > Themes and activate the theme.
Install Theme via FTP
- Log into your hosting via an FTP software.
- Unzip the installable file and upload into
wp-content/themes folder.
- Go to Appearance > Themes and activate the theme.
Troubleshooting
- Theme is missing the style.css stylesheet error
This is a common issue that can occur when installing a WordPress themes. For the details of solution, please have a look at this article.
- The message: "Are you sure you want to do this? Please try again"
If you are installing your theme from the WordPress theme installer, but get the message above, most likely your web server is configured that only allow a certain size ZIP file to be uploaded via WP Admin. In this case, you can simply unzip the installable theme file and install Theme via FTP.
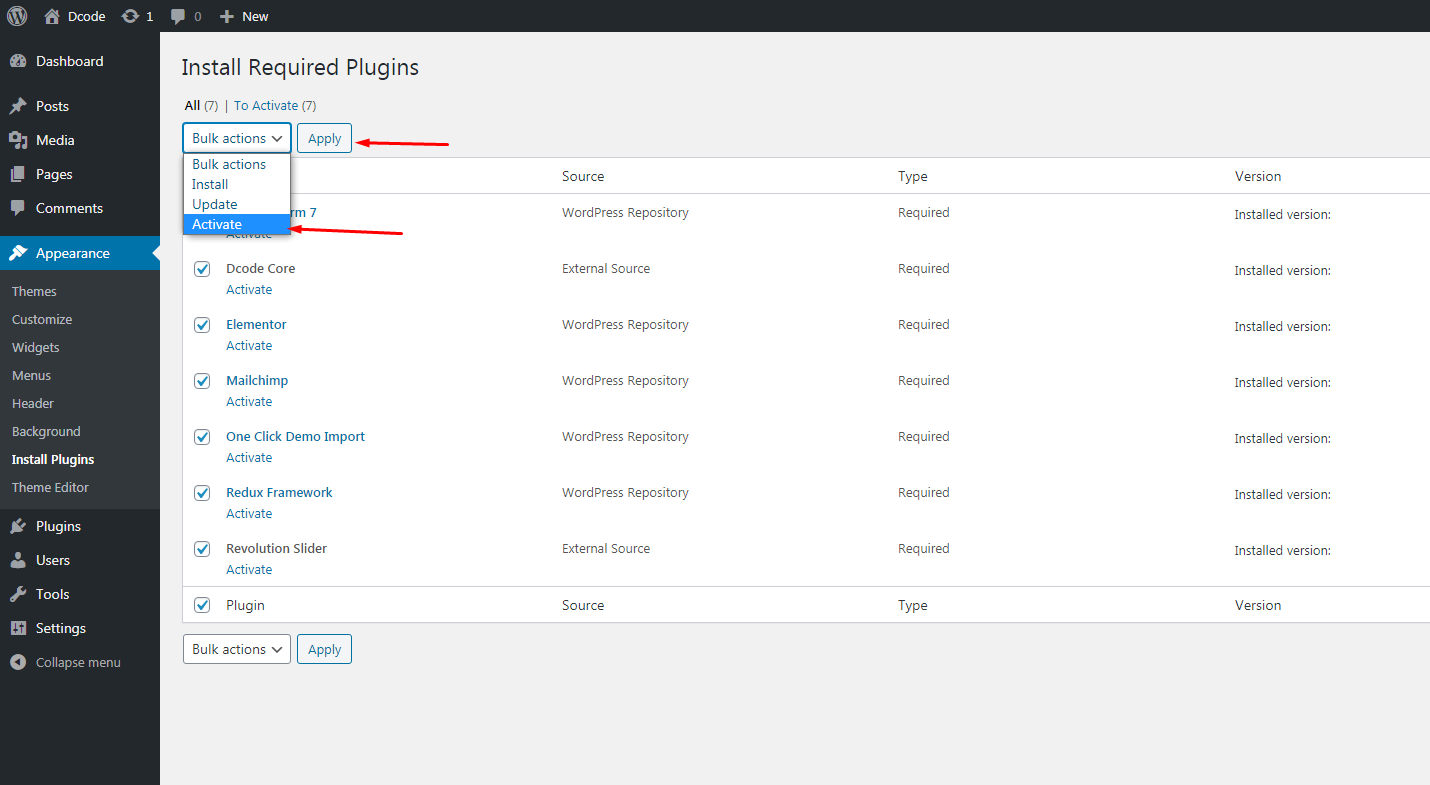
Plug-ins Installation
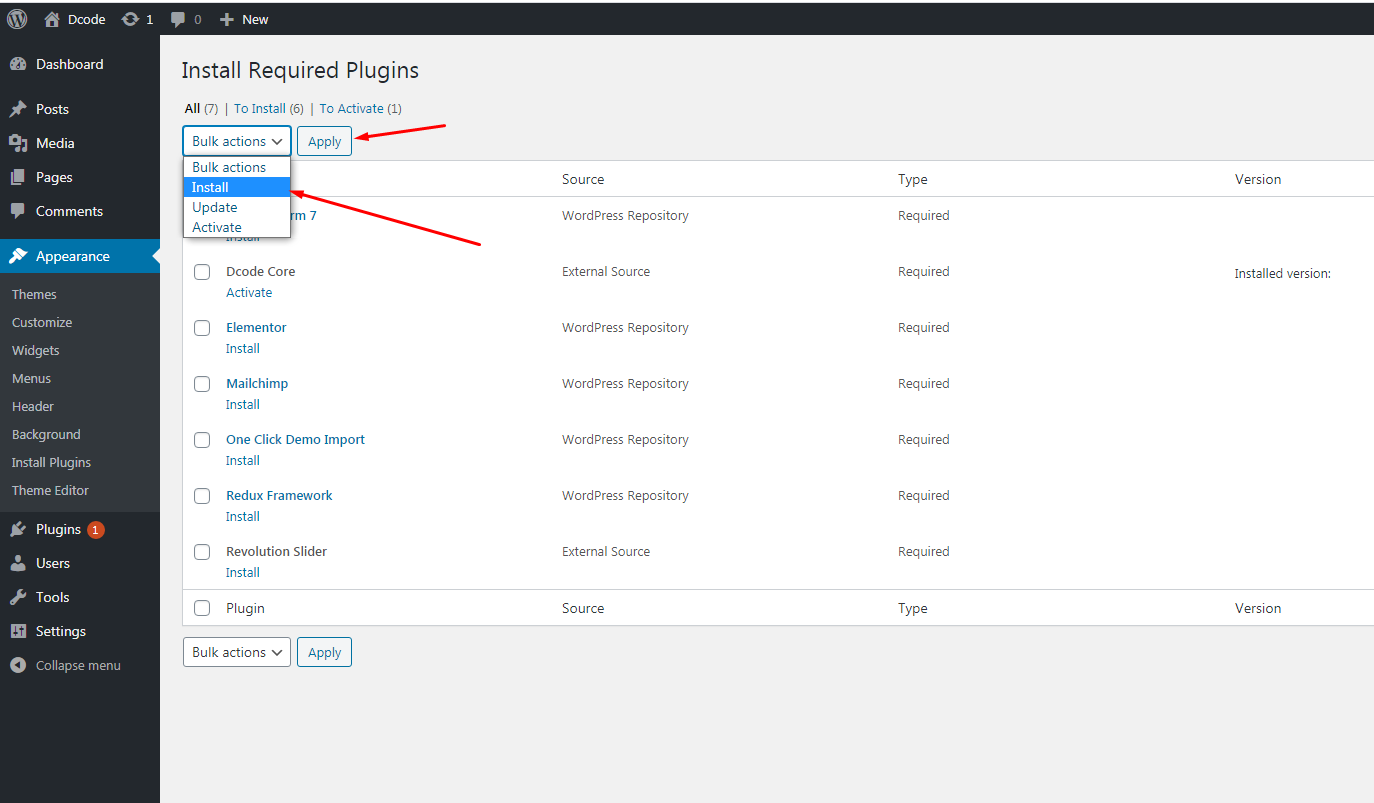
After you install the theme, you should see a list of suggested plugins at the top of the WordPress dashboard. If you already closed it out, you can go to Plugins folder of the Theme package instead to activate plugins.
Import Demo
Your Dcode installation will be ready with data on our demo site, and you can use it as a template to develop your own website.
Go to Appearance > Import Demo Data. Then, Click on import.
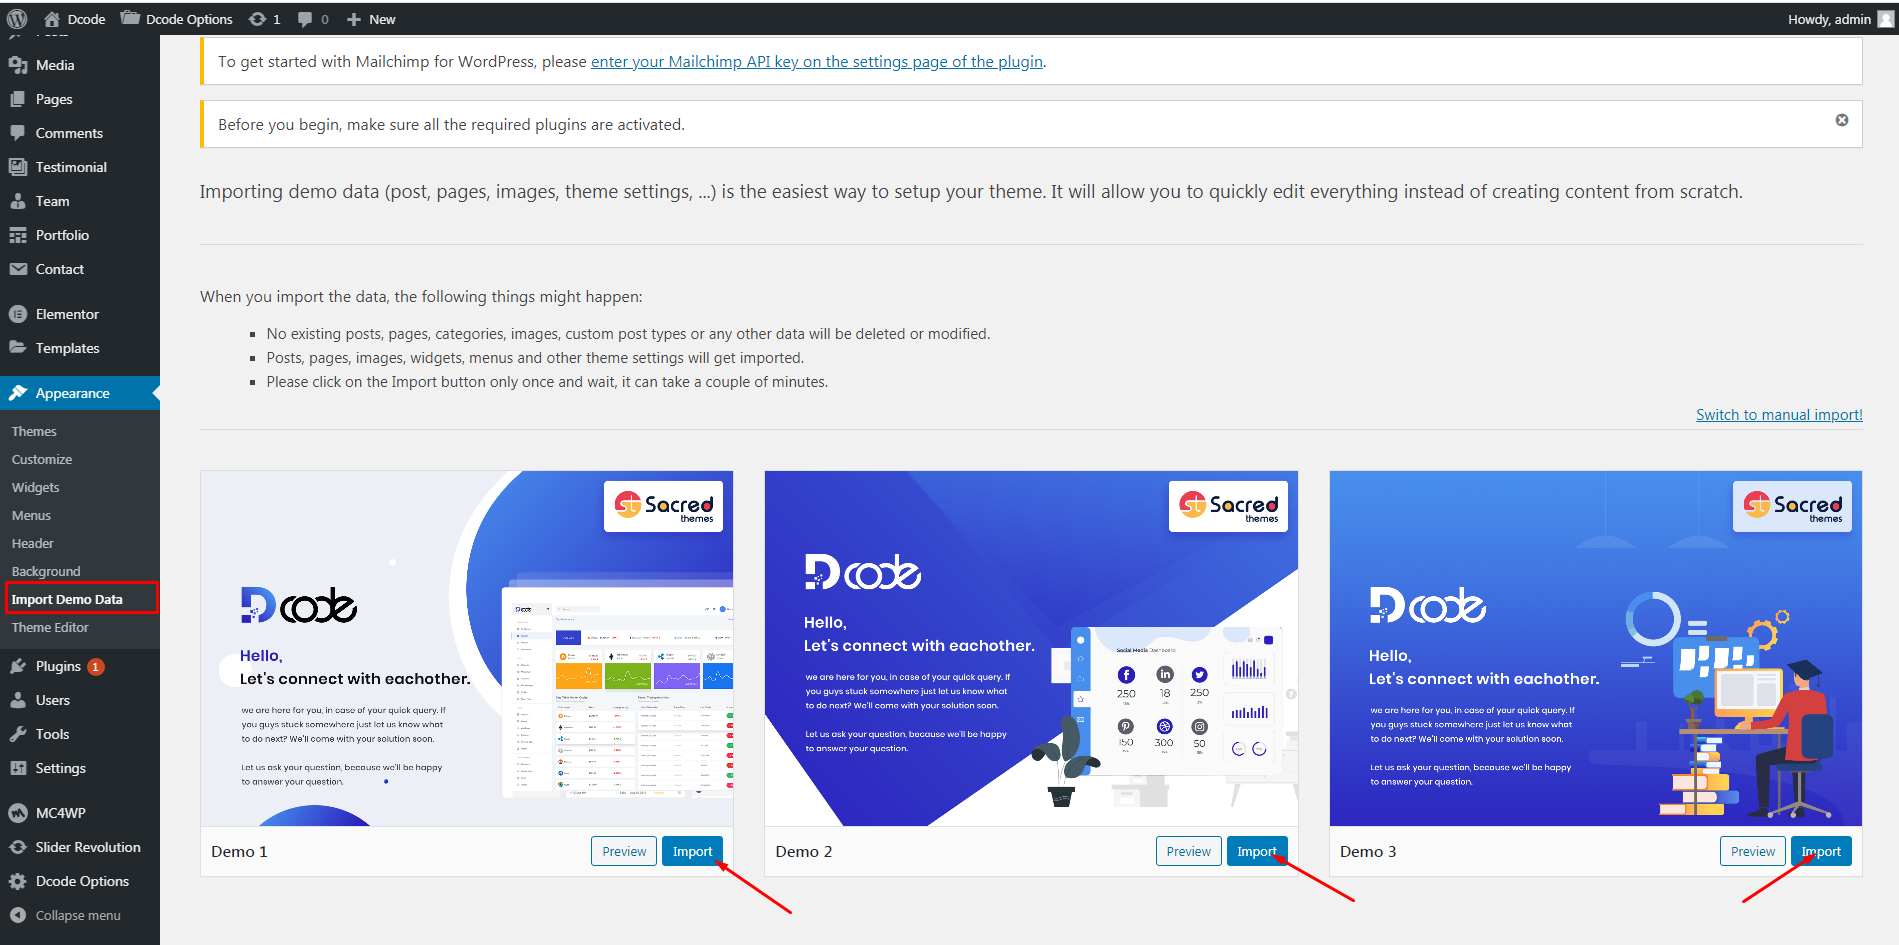
Note: Progress bar will appear while it is setting up demo data.
Also, if you import manually then select file(Dcode/inc/importer/ocdi/).
Congratulations, Now you can visit your website to see the imported data.
Update Theme
We recommend to use Envato Market plugin to update theme as it's fast and auto process. Here are steps:
- Download the Envato Market plugin and install it through the WordPress Dashboard at: Appearance Widgets
-
Than you just need to configure "Envato Market" plugin. This is one time process. You just need to link your ThemeForest account with your "Envato Market" plugin. Just follow this for step-by-step tutorial for this.
-
Than just go to Admin Envato Market menu and click on "Themes" tab. Now you can see Dcode theme with update link on it.
-
After theme update, you may see message to update some plugins. Make sure you update all plugins too.
While widget areas typically occur in webpage sidebars, Dcode theme can place widget areas on left/right and footer of the page.
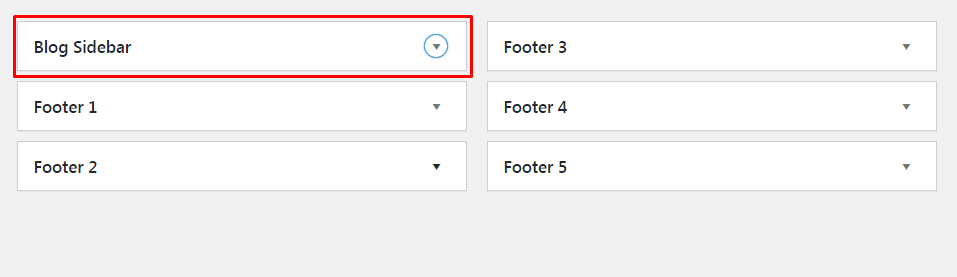
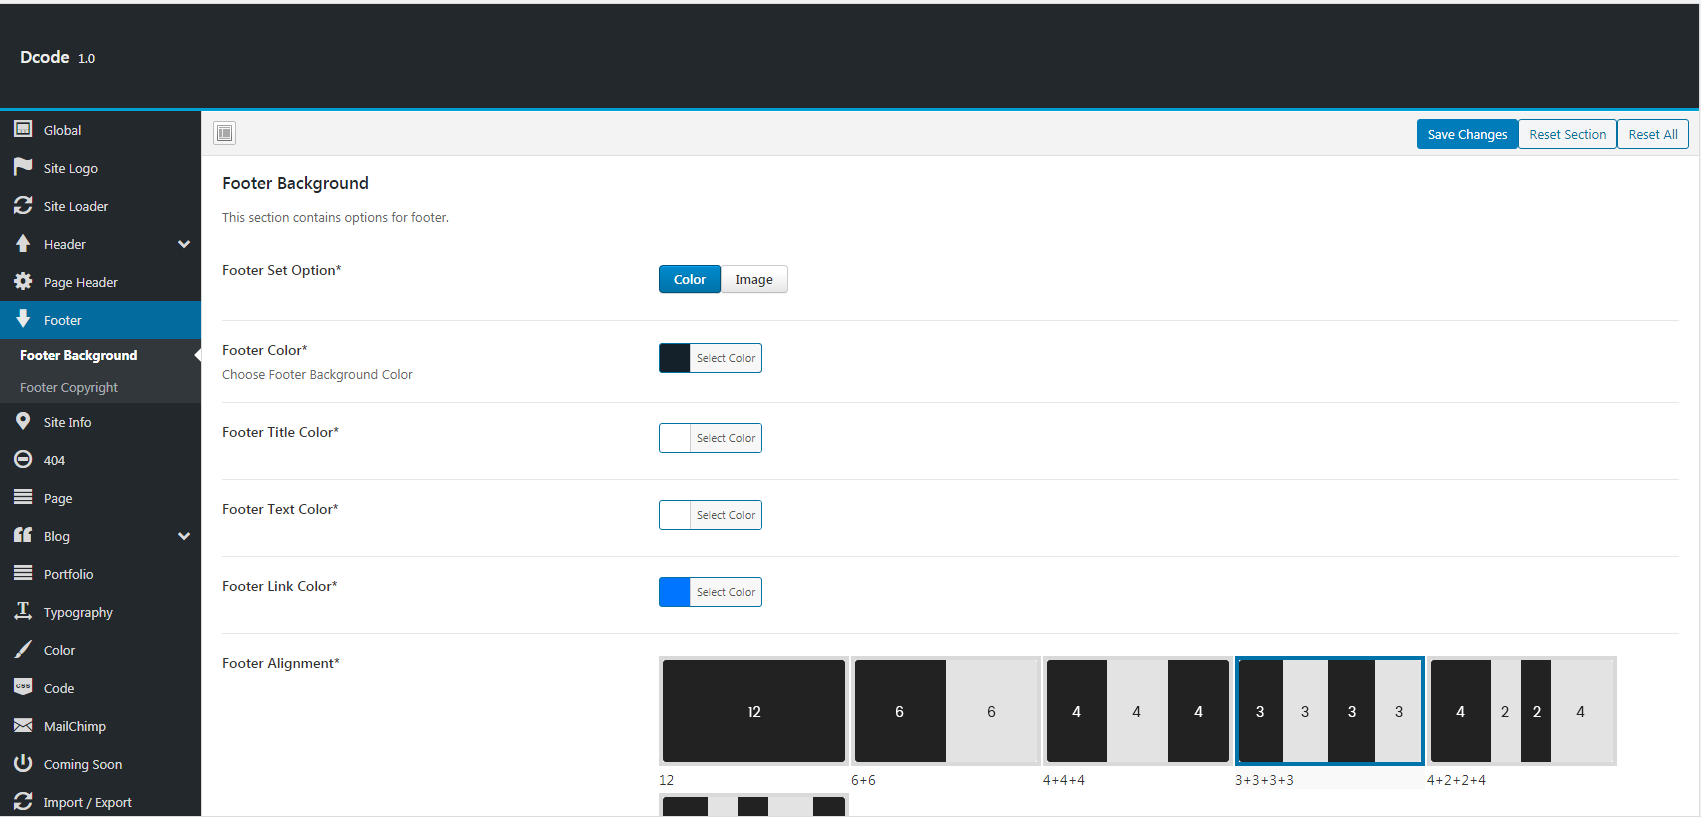
Footer Settings
We have THREE footer rows.

- First footer row
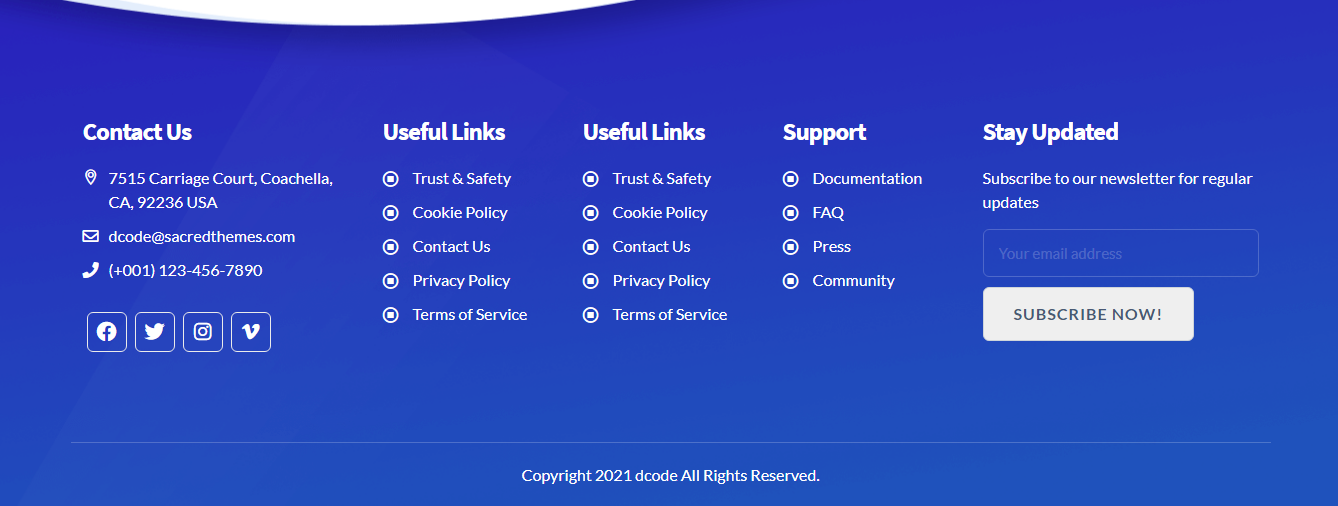
The Second Footer row will show widgets. It can show maximum 4 columns. We can add multiple widgets in each column. Just go to Admin > Appearance > Widgets section and add widgets in it.

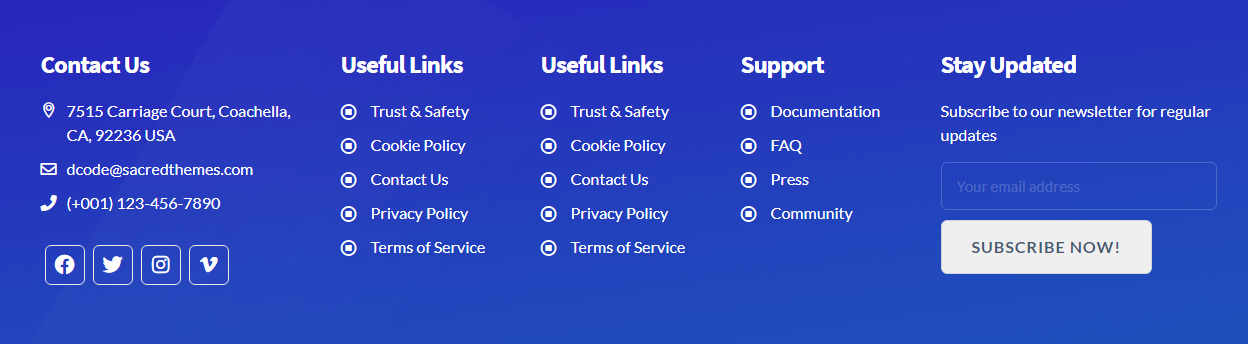
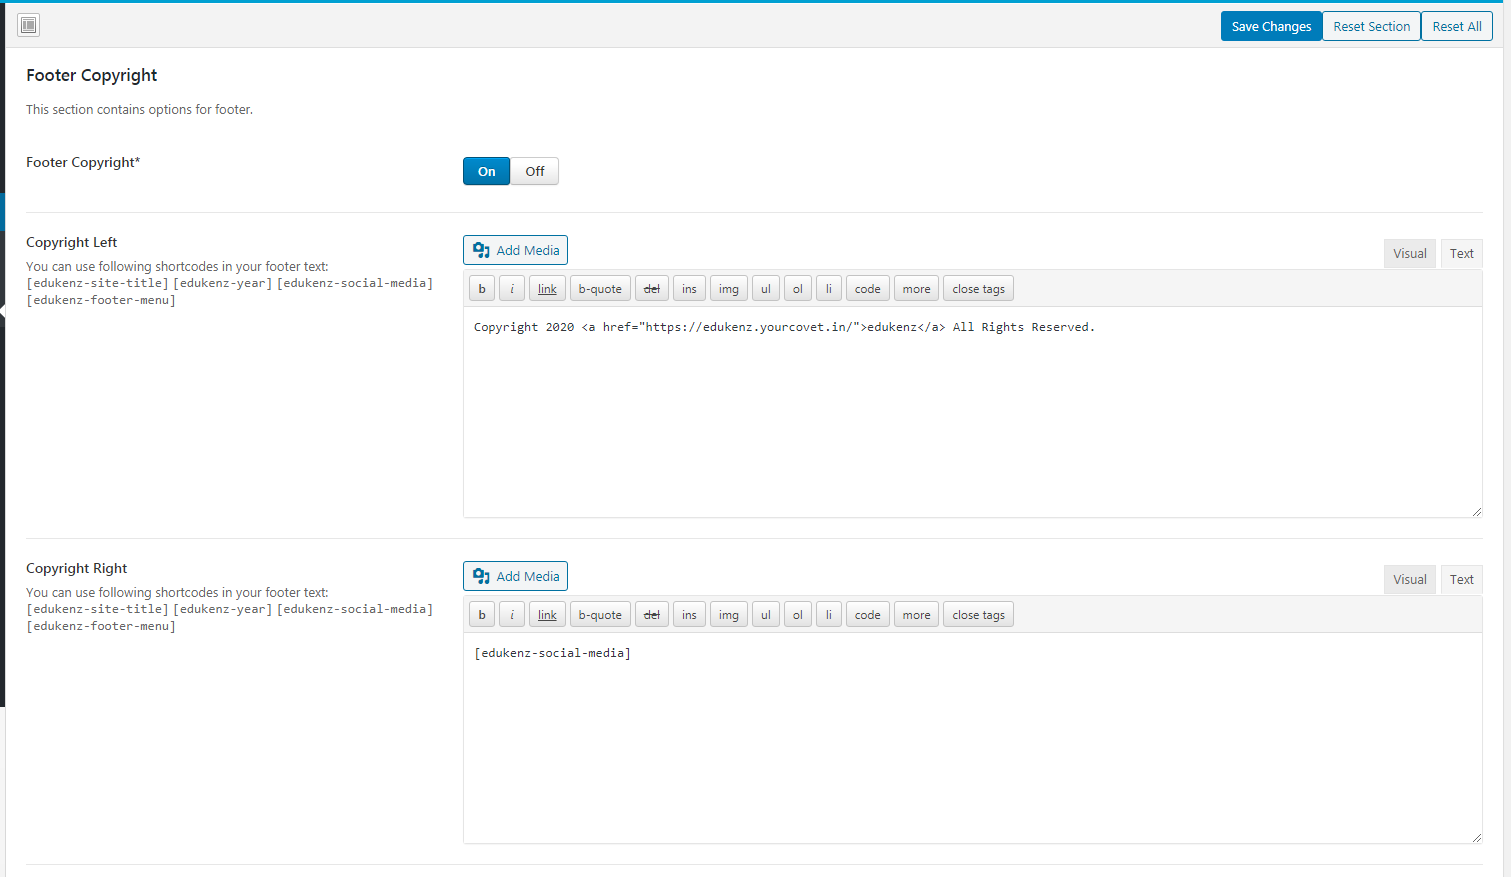
- Footer Copyright Area
This third footer fow contains Copyright text and menu. You can edit Copyright text from Admin > Dcode Options > Footer section
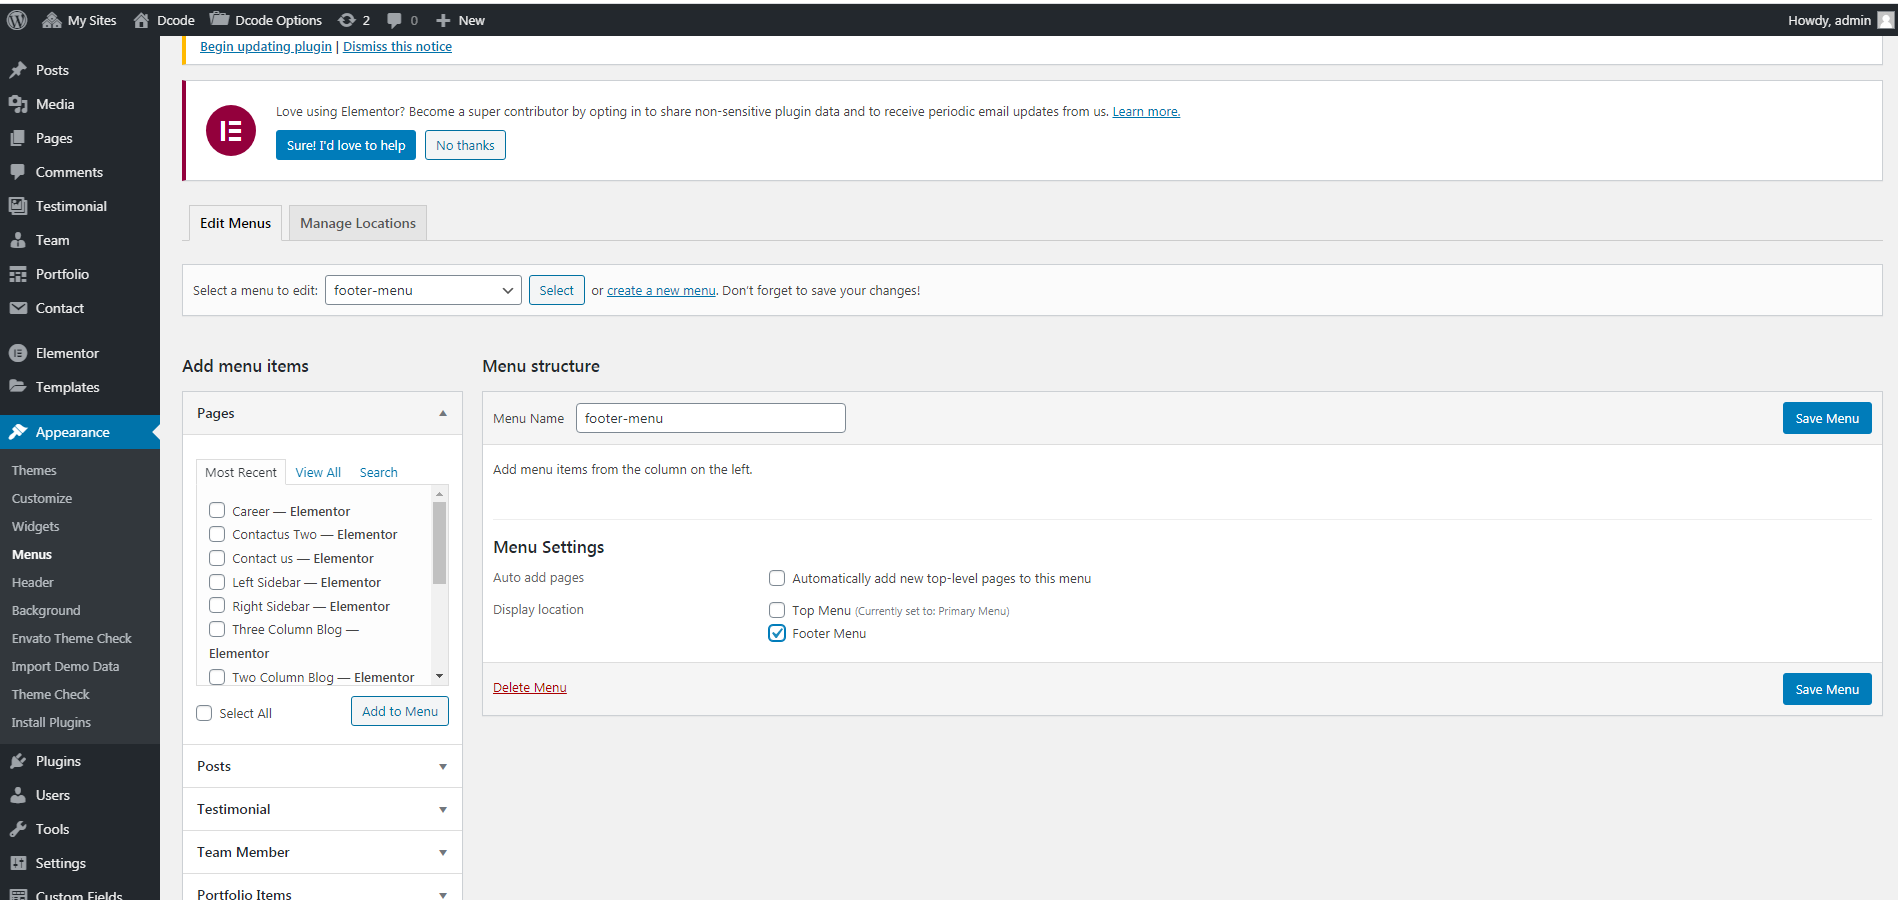
To setup the footer menu, just go to Admin > Appearance > Menus section and set it

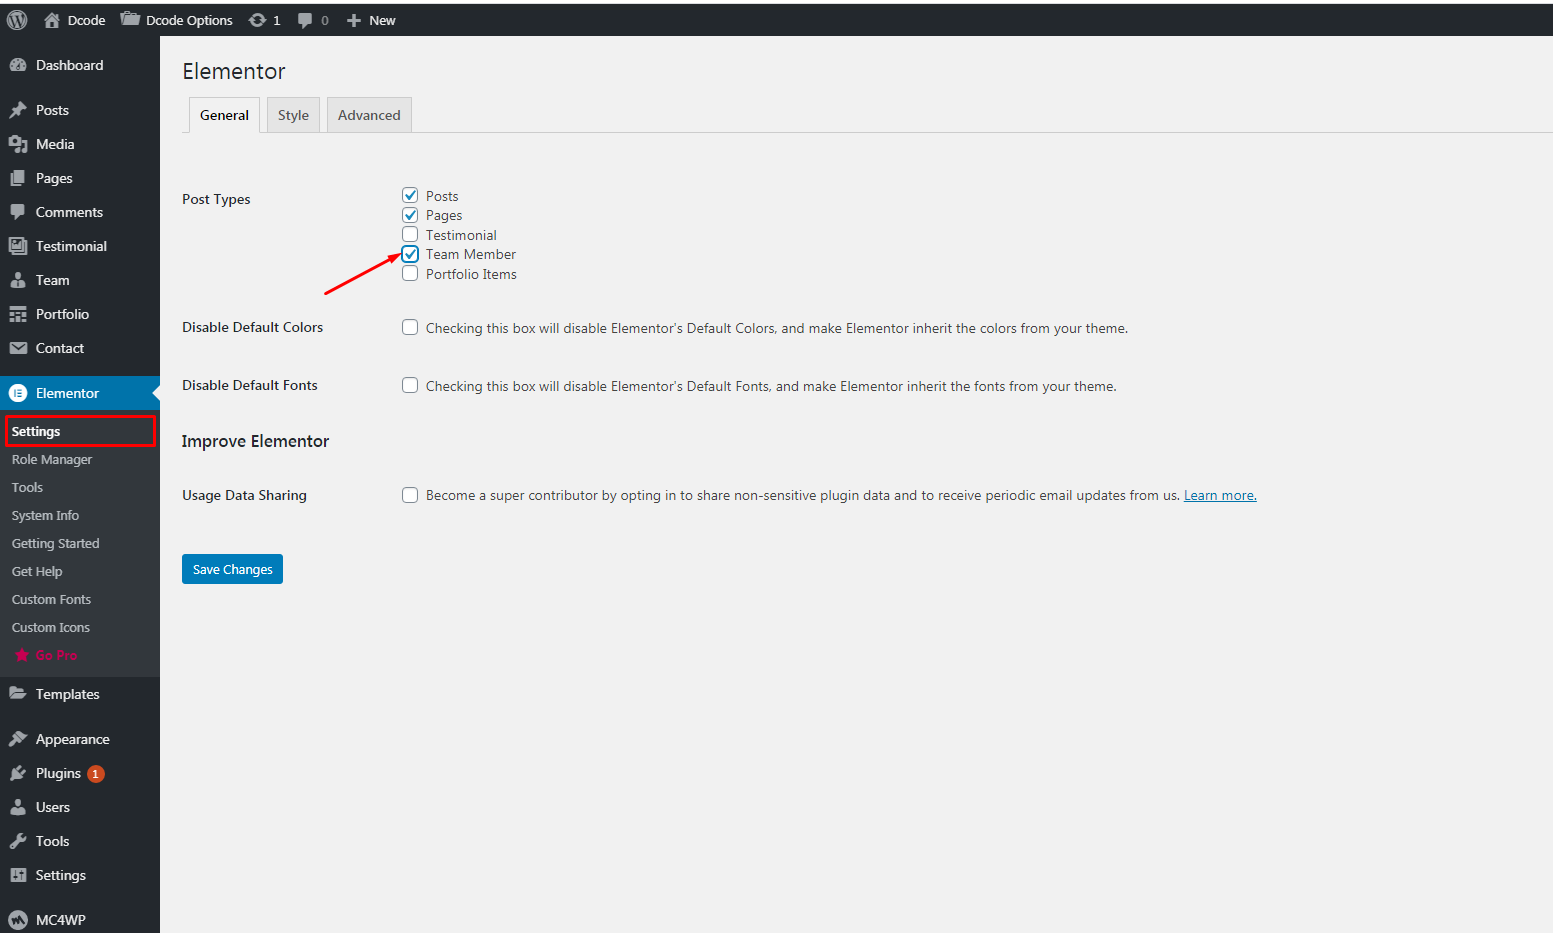
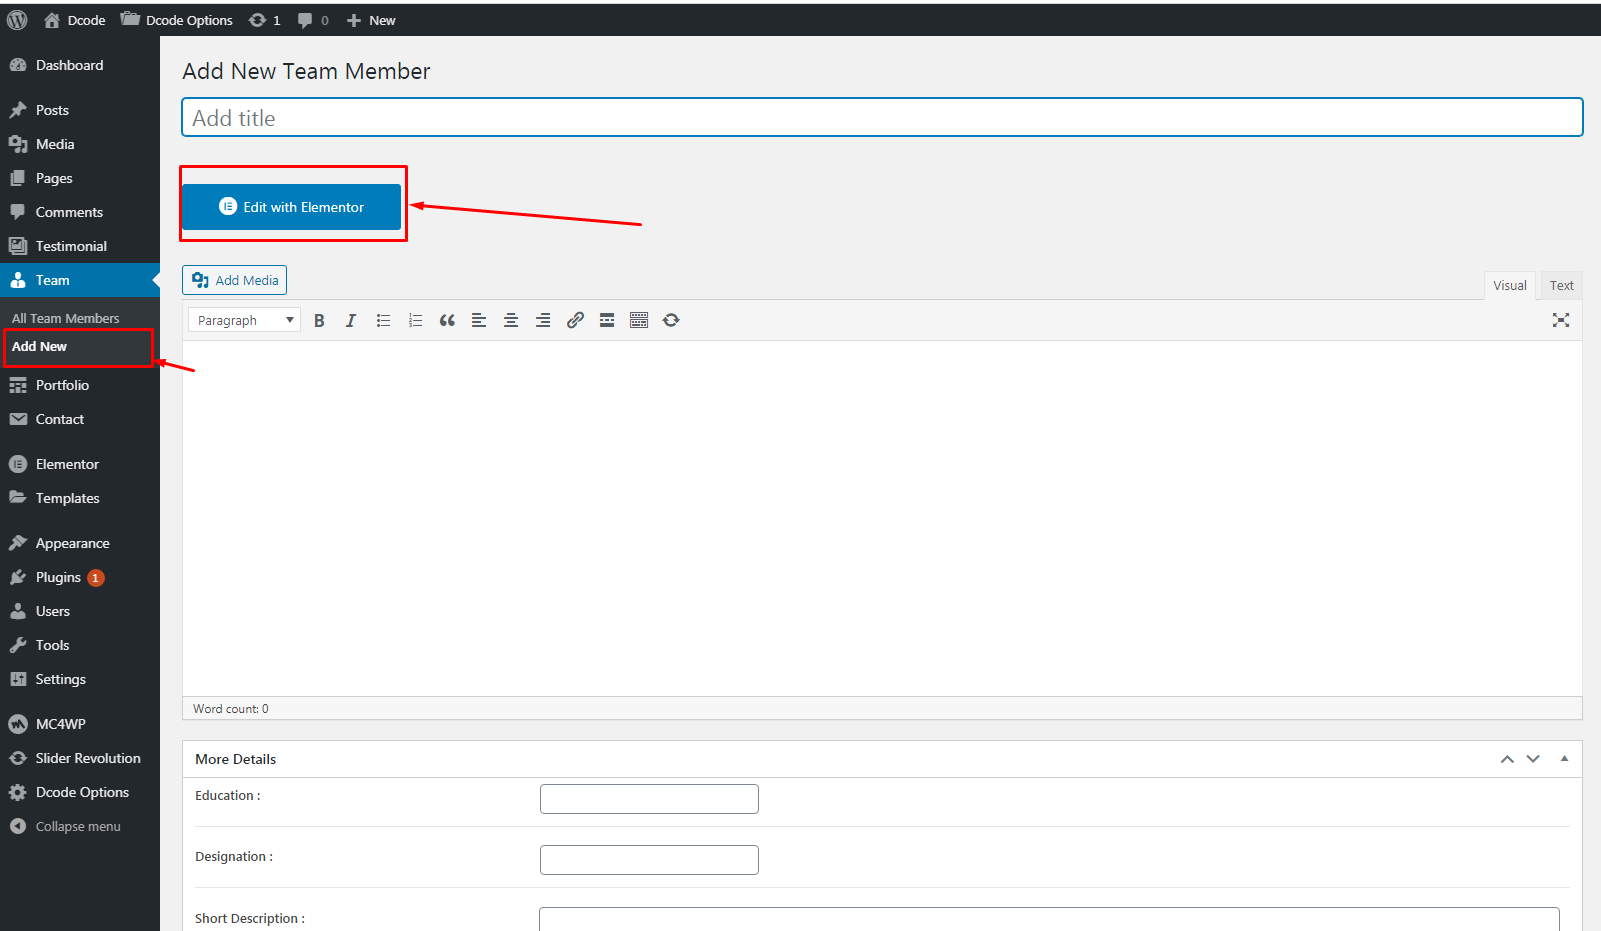
Enable The Elementor For Team
If you want to use Elementor for your Team items, you can go to Elementor > setting and choose Custom from the dropdown then check Team Member to use the Elementor.
Creating a team Page is quite easy with this theme. Just follow the steps here:
- Go to Team > Add New in your Dashboard.
- Add a title and input all the team member related info like Feature image and social content.
- Select Team Category and other meta data if you want it.
- Click on Publish / Update button.

If you would like to set up a Team Members page, go to your WP Admin and navigate to Pages > Add New. Choose a title like "Team Member" and select one of the "Default" templates in the Page Attributes. Switch to the Elementor and add the Team element. Click the Publish button.
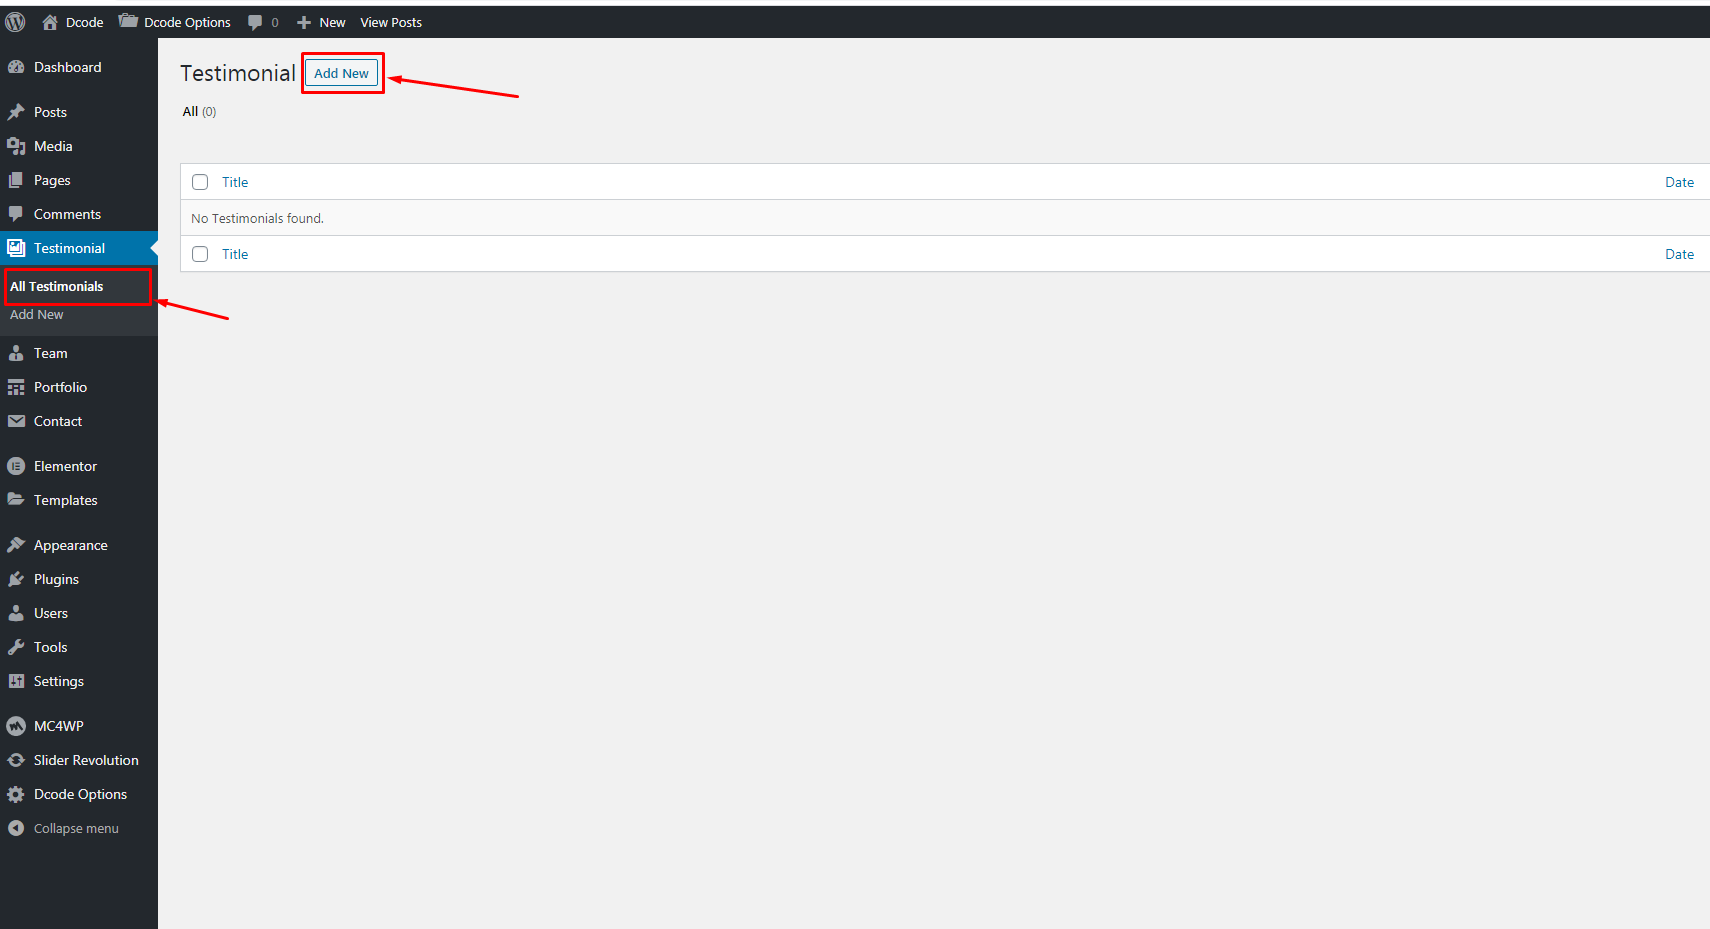
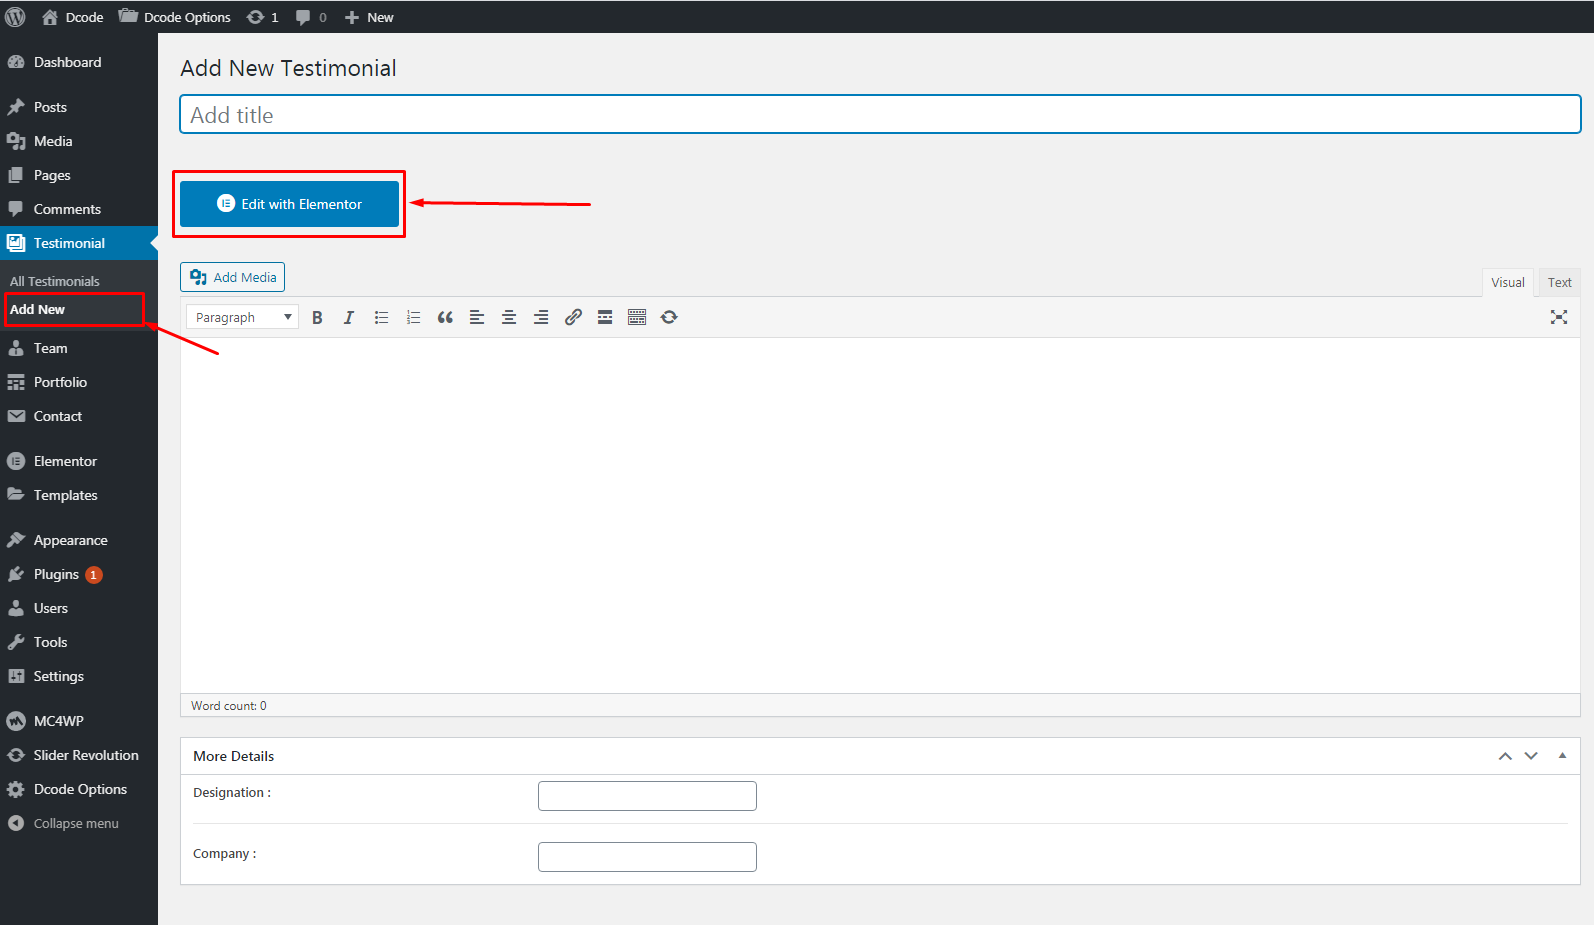
Enable The Elementor For Testimonials
If you want to use Elementor for your Testimonials items, you can go to Elementor > setting and choose Custom from the dropdown then check Testimonials Member to use the Elementor.

Creating a testimonials Page is quite easy with this theme. Just follow the steps here:
- Go to Testimonials > Add New in your Dashboard.
- Add a title and input all the testimonial related info like user avatar and other meta data.
- Select Testimonial Category.
- Click on Publish / Update button.
If you would like to set up a Testimonial page, go to your WP Admin and navigate to Pages > Add New. Choose a title like "Testimonial" and select one of the "Default" templates in the Page Attributes. Switch to the Elementor and add the Testimonial element. Click the Publish button.
Elementor is an external service and the plugin is developed by third party developers. They have already provided very good documentation.
1. You need to download and install poEdit program from here https://poedit.net/download
2. Then goto ftp wp-conetent themes your theme folder languages. There you will find .pot file, open it with poEdit
3. After edititng you need to set correct files name for your new files that will come after editing. More info about files naming you gan find here: https://poedit.net/download
4. Open file wp-config.php in your Wordpress root folder and add the line define('WPLANG', ''); remember replace '' by the language you want. More details can be found here: WordPress in your language
5. You can also translate theme using Logo Translate plugin: https://wordpress.org/plugins/loco-translate/
6. Theme is fully compatibele with WPML Multilingual plugin, that can be used for translation and multilingual: WPML.org
Thank you for purchasing Dcode WordPress Theme!
If you like our theme and want to support us please rate it. in your
Themeforest Downloads section.